Mousetrap
Based on ‘Rube Goldberg machine’ principle
Create a mousetrap
Based on ‘Rube Goldberg machine’ principle
A series of objects in a chain like a domino effect, that ends up catching the mouse. Apparently also known as ‘Rube Goldberg machine’ principle.
But I think it's too much work for a weekly challenge. So I try to keep it simple.

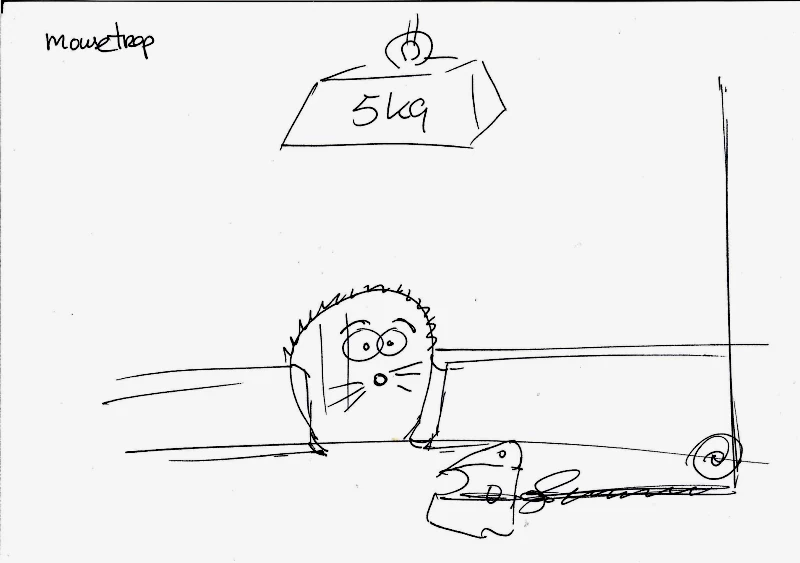
Mousetrap concept 2D
I had a small idea …
Starting simple, with managable objects. The mouse needed to be sculpted. But hiding him in its hole, I don't need to make a full mouse model. Which is a time saver. The cheese block is simple, just some booleans.
For the weight I wanted to impress the weight number to emphasize his weight. Also a job for a boolean, but that leads to sharp edges. So I used the sculpt tool to make it more cast iron look.
But later I had many, many more ideas. But I sticked to the plan.
To design a real ‘Rube Goldberg machine’ it would involve many more items. I kept it simple, leaving it to the imaginary.

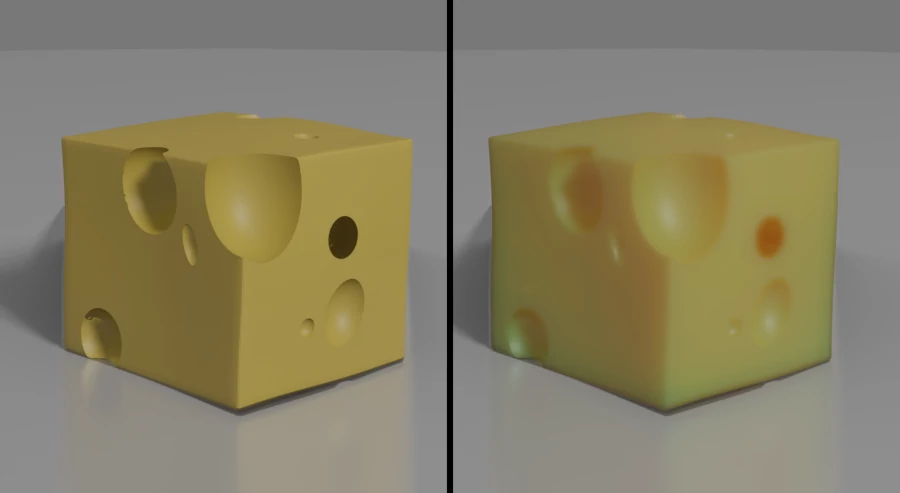
Cheese
Subsurface does matter
This an Eevee render. I used green as depth color.
Rembrandt the oil painter used this technique for his paintings.
His base layer for faces contains green.
The he operpainted this with more facial colors.
Cudos for the "Old masters".
I think I could unsharpen the edges a bit more, but time managemnt.
Mouse blockmodel
Just using basic objects the layout the mouse
Also on this process you can spend a lot of time. And I didn't use any references. I only used visuals in my brain. It doesn't need to be a real mouse or rat. I went for characteristics.
Pointy nose, teeth, wiskers, big ears, and open eyes.
Mouse sculpting
Rough edges
I left the rough edges at the rim of the ears. I think those are seen in the final setup. or will give a nice rough mouse look.
I kept the amount of vertices resonably low. I have no intention to do a retopology. To make a low poly count mouse.
No feet. I do not think we will miss them … keeping it simple.
Mousetrap frontal
Frontal concept render
While it looks like the original sketch, it introduces some problems.
There is not enhough visual room to show all the needed objects. We cann't block the view to the mouse by placing objects in font of the object. I want to comply to the rule of thirds. And a frontal view is too mechanical.
Mousetrap
Side concept render
From this view I have more room to play with, trying to build a more logical story. Less important parts can go to the right or left side of the scene.
But the weight location, in active state, is too high. out of the rule of thirds. Then I had a new idea to create the scene after the trap was activated. more compact, more details to add, like a tail.
Mousetrap
Final render
After a lot of tweaking of options and details, my final entry for the weekly Blender collab. Rendered in Blender Cycles.